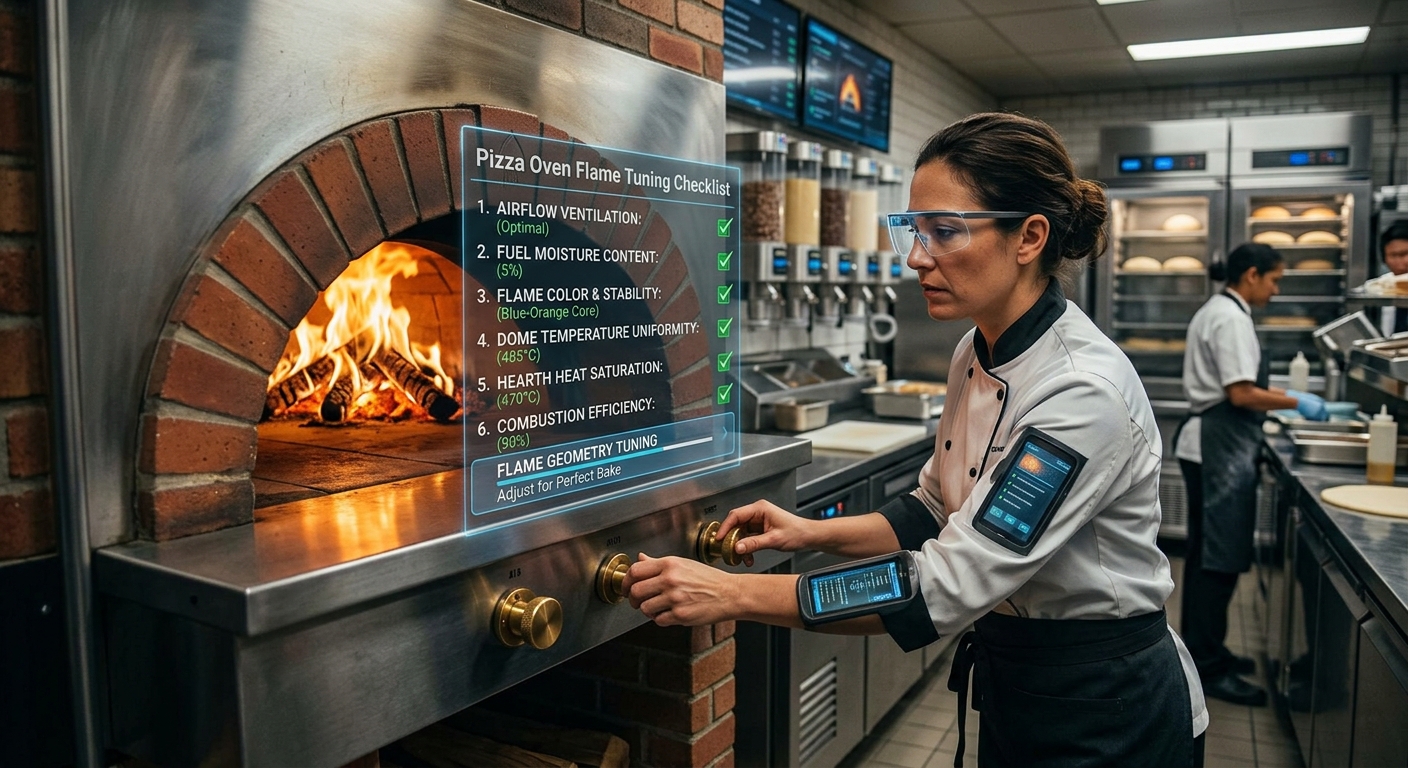
Mastering the pizza oven flame is the secret ingredient that elevates homemade pizza from good to extraordinary. A well-tuned flame not only ensures even cooking but also imparts that coveted smoky char and perfectly blistered crust. Whether you’re using a wood-fired, gas, or pellet oven, understanding how to control and shape your flame is paramount. This guide will walk you through a comprehensive pizza oven flame tuning checklist, equipping you with the knowledge to achieve pizzeria-quality results every time.
The journey to the perfect pizza flame begins with understanding the fundamentals of combustion and heat transfer within your specific oven type. Different ovens present unique challenges and require tailored approaches to flame management. This checklist aims to demystify the process, providing actionable steps and insights for both novice and experienced pizza makers.
By diligently following these steps, you’ll gain confidence in your ability to manipulate the flame, leading to consistently delicious pizzas that will impress your family and friends.
Key Takeaways
- Flame is Key: The flame in a pizza oven is crucial for both cooking the pizza and developing crust characteristics.
- Oven Type Matters: Tuning methods vary significantly between wood-fired, gas, and pellet ovens.
- Temperature Control: Achieving and maintaining the correct oven temperature is vital before and during cooking.
- Flame Shape and Size: A properly tuned flame is typically a rolling, consistent flame that fills about two-thirds of the oven dome.
- Fuel Management: For wood-fired ovens, understanding wood type, dryness, and loading techniques is critical.
- Gas Valve Adjustment: For gas ovens, precise control over gas flow is essential for flame tuning.
- Troubleshooting: Be prepared to identify and address common flame issues like weak flames, excessive flames, or uneven heat.
- Practice Makes Perfect: Consistent practice and observation are key to mastering pizza oven flame tuning.
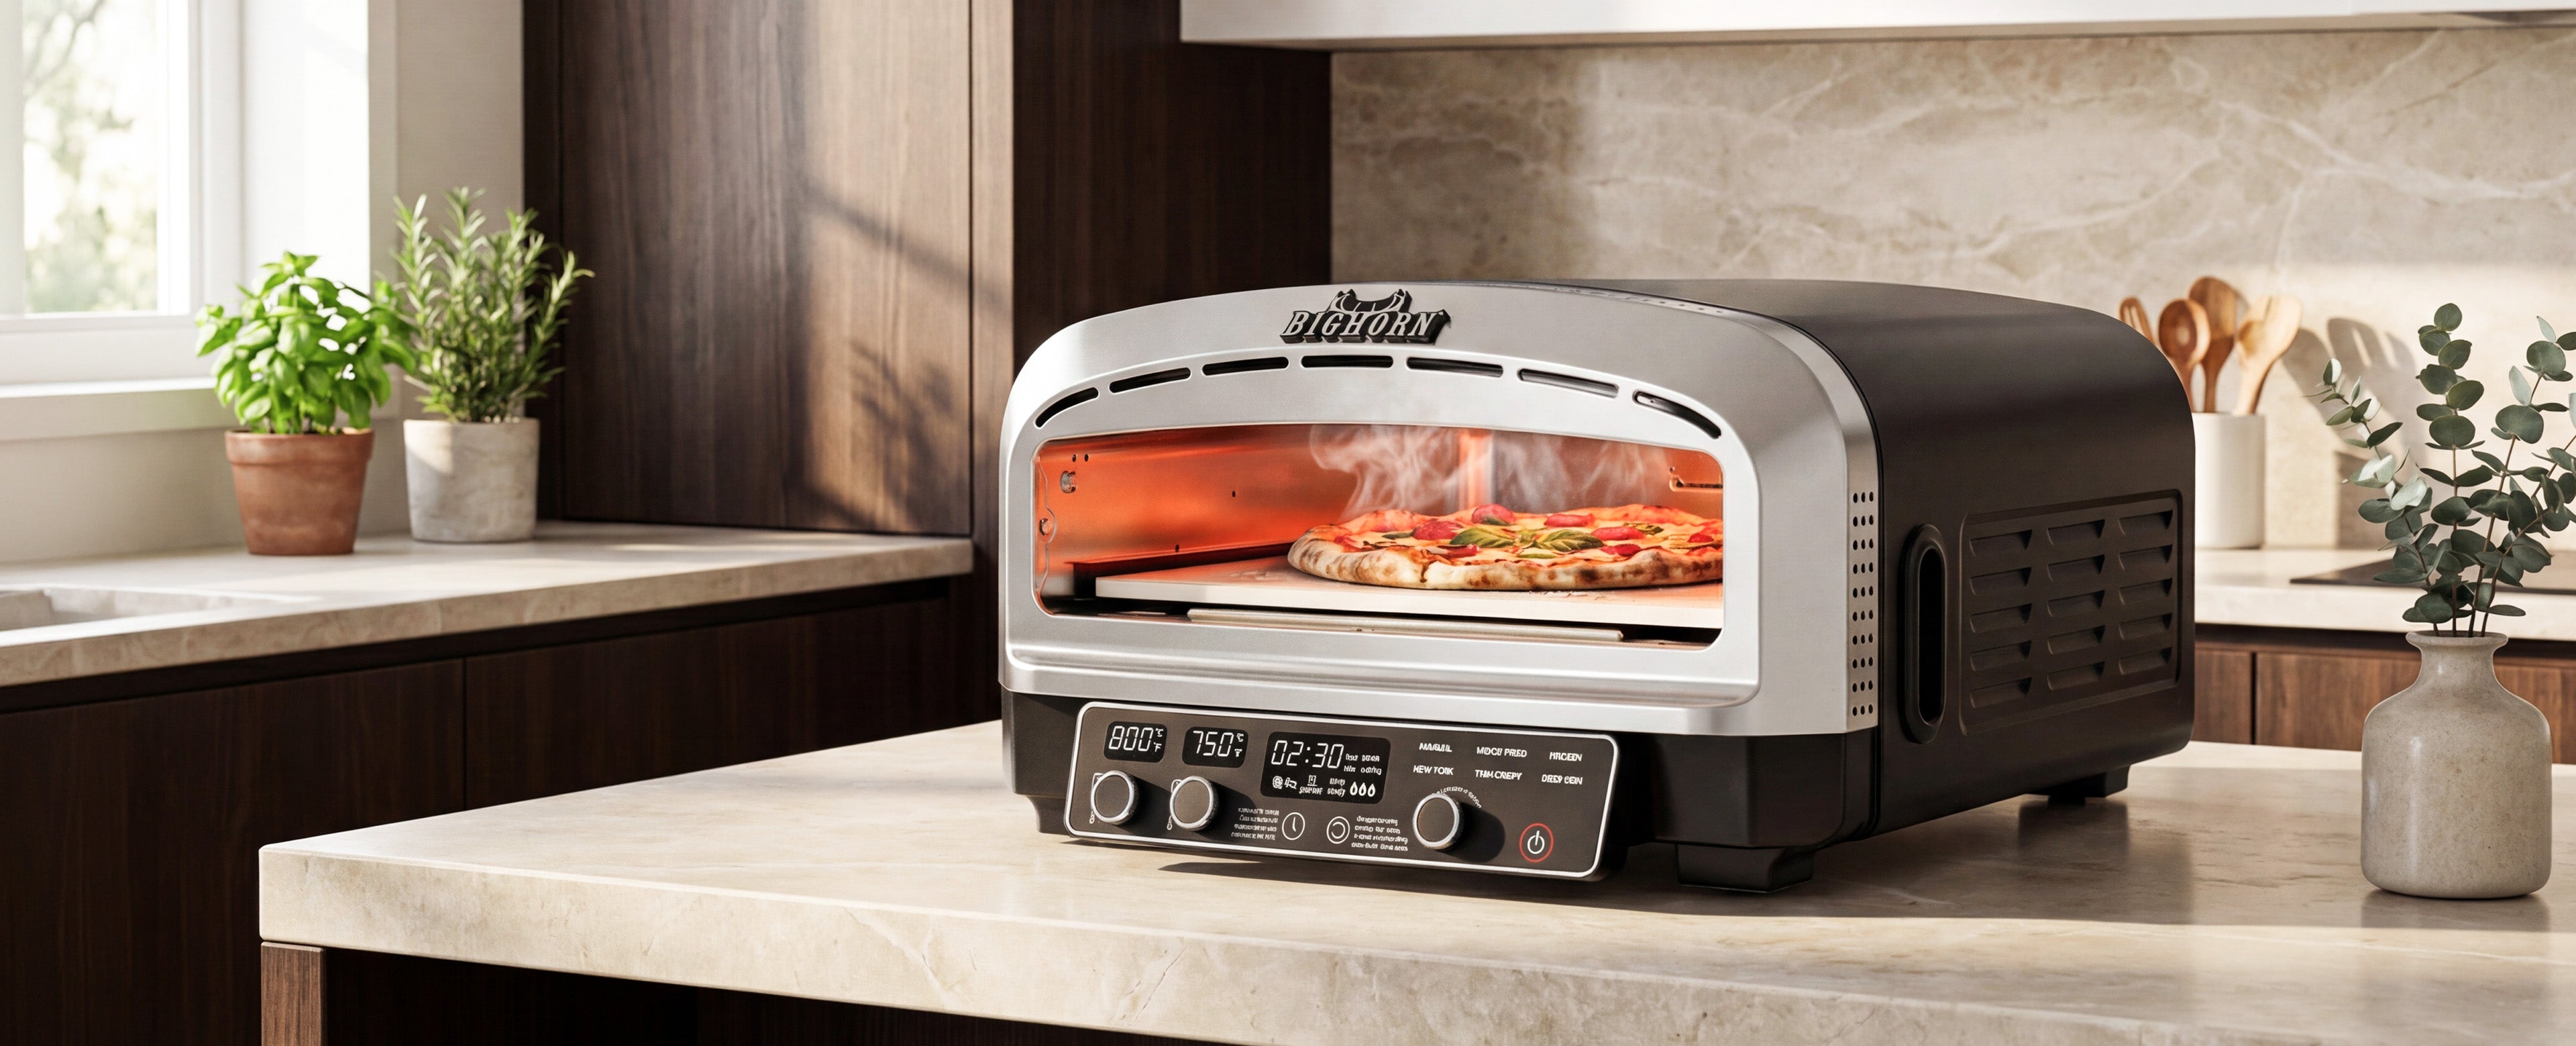
Credit: bighornoutdoor.com
Understanding Your Pizza Oven’s Flame
Before diving into the tuning process, it’s essential to understand what constitutes an ideal flame for pizza making. The flame is not just a source of heat; it’s an active participant in the cooking process, contributing to the crust’s texture, color, and flavor.
The goal is to create a dynamic, radiant heat environment that cooks the pizza quickly and evenly.
The Ideal Flame Characteristics
An ideal pizza oven flame, particularly in wood-fired ovens, is often described as a rolling flame. This means the flame should be lively, consistent, and move around the dome of the oven. It shouldn’t be a stagnant, lazy fire or an explosive, uncontrolled inferno.
- Height: The flame should typically reach about two-thirds of the way up the oven dome. Too low, and you won’t get enough radiant heat; too high, and you risk burning the top of your pizza before the bottom is cooked.
- Color: A healthy flame burns with vibrant colors, typically yellow and orange at the base, transitioning to blue at the tips. A predominantly red or black flame often indicates incomplete combustion, suggesting issues with airflow or fuel quality.
- Movement: The flame should “roll” or “dance” around the dome. This indicates good airflow and heat circulation within the oven cavity. A static flame suggests poor circulation, leading to hot spots and uneven cooking.
- Consistency: The flame should maintain its characteristics throughout the cooking process, with only minor adjustments needed.
Heat Transfer Mechanisms
Understanding how heat is transferred within your oven is crucial for flame tuning. There are three primary methods:
- Conduction: Heat transfer through direct contact. The pizza stone absorbs heat from the oven floor and transfers it to the pizza base.
- Convection: Heat transfer through the movement of hot air and gases. The rolling flame and hot air circulating within the dome contribute significantly to cooking the pizza’s toppings.
- Radiation: Heat transfer through electromagnetic waves. The hot dome and the flame itself radiate intense heat directly onto the pizza’s surface, contributing to rapid cooking and crust blistering.
The pizza oven flame directly influences all three. A well-tuned flame heats the dome and oven floor efficiently (conduction and radiation) and creates the necessary air currents for convection.
Wood-fired Pizza Oven Flame Tuning Checklist
Wood-fired ovens offer the most traditional and arguably the most flavorful pizza experience. However, they also require the most skill in flame management. Tuning the flame in a wood-fired oven is an art form that involves careful fuel selection, preparation, and management.
1. Fuel Selection And Preparation
The type and condition of your wood are foundational to achieving the right flame.
- Wood Type: Opt for hardwoods like oak, maple, or fruitwoods (apple, cherry). These burn hotter and longer, producing fewer sparks and less creosote than softwoods like pine or fir. Avoid treated lumber or construction scraps, which can release toxic fumes.
- Moisture Content: Use seasoned, dry wood with a moisture content below 20%. Wet wood smolders, produces excessive smoke, and struggles to generate high temperatures. You can check dryness by looking for cracks at the ends of the logs and listening for a clear ringing sound when two pieces are struck together.
- Log Size: For most pizza ovens, you’ll want small, split logs or kindling rather than large logs. These burn more efficiently and allow for better control over the flame size and heat output.
2. Building The Initial Fire
The initial fire sets the stage for your cooking temperature and flame.
- Kindling and Fire Starters: Start with a small amount of dry kindling and a reliable, non-toxic fire starter. Place this in the center or slightly to the back of the oven floor.
- Adding Small Logs: Gradually add small, dry hardwood pieces as the kindling catches. Build a small, manageable fire initially.
- Heating the Oven Floor: Allow the fire to burn for at least 45-60 minutes, depending on your oven’s thermal mass. The goal is to saturate the oven floor (hearth) with heat. You should see the black soot marks from the initial fire disappear from the dome and hearth as the oven reaches temperature.
3. Establishing The Rolling Flame
Once the oven is hot, it’s time to establish the cooking flame.
- Moving the Embers: Push the main bed of glowing embers to one side or the back of the oven, typically the side or back where you want your flame to originate. This creates a consistent heat source without the flame directly over the cooking area.
- Adding Cooking Logs: Add 1-2 small, seasoned hardwood logs onto the ember bed. These logs should be just large enough to sustain a lively flame without overwhelming the oven.
- Observing Flame Development: Watch as the new logs catch fire from the embers. The flame should begin to lick up the dome and start rolling around the oven cavity.
4. Maintaining The Flame During Cooking
This is where the “tuning” truly happens.
- Flame Size Adjustment:
- Too Weak: If the flame is dying down, add another small log or two to the ember bed. Ensure the wood is dry and the airflow is sufficient.
- Too Strong/Tall: If the flame is too high and aggressive, it might be scorching the pizza top. Gently push some embers away from the logs, or remove one of the logs if it’s burning too intensely. Reduce the size of the logs you add.
- Airflow Control: Most wood-fired ovens have adjustable vents or doors.
- Increase Airflow: Opening vents or the door slightly can invigorate a lazy flame.
- Decrease Airflow: Partially closing vents can temper an overly aggressive flame. Be cautious not to starve the fire of oxygen, which can lead to poor combustion and excessive smoke.
- Log Management: Add new logs strategically to maintain consistent heat and flame. Avoid overcrowding the firebox, as this can smother the flames. Aim to keep a bed of glowing embers and a lively, rolling flame.
- Rotation: Remember to rotate your pizza frequently (every 20-30 seconds) to ensure even cooking, as the flame side will always be hotter.
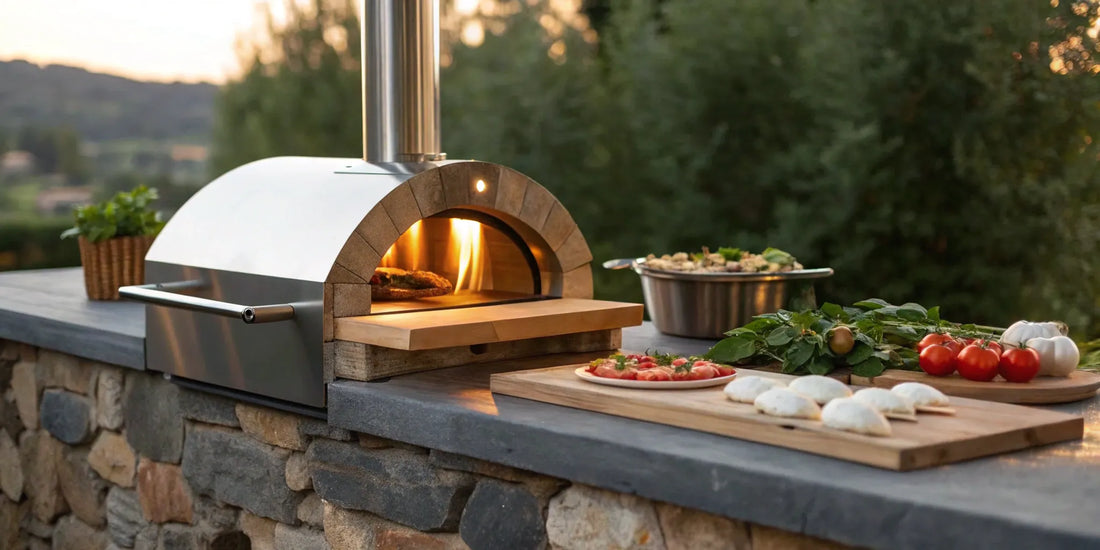
Credit: sabrapizza.com
Gas Pizza Oven Flame Tuning Checklist
Gas pizza ovens offer unparalleled convenience and control. Tuning the flame is primarily about adjusting gas flow and burner placement.
1. Preheating And Burner Ignition
Proper preheating is crucial for gas ovens to reach optimal pizza-making temperatures.
- Ignition: Follow your oven’s specific instructions for igniting the main burner(s). Ensure a clean ignition without excessive popping or sputtering.
- Initial Burner Setting: Start with the burner on a medium-high setting to rapidly heat the oven and the pizza stone.
- Reaching Temperature: Allow the oven to preheat thoroughly. Most gas pizza ovens require 15-30 minutes to reach temperatures between 700-900°F (370-480°C). Use an infrared thermometer to verify the stone temperature.
2. Flame Adjustment For Cooking
Once preheated, the flame needs to be adjusted for the cooking phase.
- Main Burner Flame: The primary goal is a consistent, stable flame that circulates heat effectively.
- Ideal Flame: A well-adjusted flame should be mostly blue with a slightly yellow tip, about 2-4 inches high, and should not be excessively noisy or wavering.
- Too Low/Weak: If the flame appears weak or flickers out easily, check the gas supply and ensure the burner ports are clean. You may need to increase the gas flow slightly using the control knob.
- Too High/Loud: If the flame is roaring, excessively yellow, or making a lot of noise, reduce the gas flow. This can prevent burning the pizza crust too quickly and ensure even cooking.
- Burner Placement (if applicable): Some gas ovens have multiple burners or adjustable burner positions. Ensure the flame is directed to heat the entire oven cavity and stone evenly. If your oven has a rotating stone, the flame should ideally be positioned to complement the rotation.
- Airflow (if applicable): While less critical than in wood-fired ovens, some gas ovens have adjustable air vents. These are typically used to fine-tune combustion. Ensure vents are open enough for clean burning but not so much that they excessively cool the oven.
3. Maintaining Flame Consistency
Consistency is key for repeatable results.
- Temperature Monitoring: Use an infrared thermometer to monitor the stone and air temperature. Adjust the gas knob as needed to maintain your target temperature range.
- Flame Stability: Periodically check the flame during cooking. If it becomes unstable, check for any obstructions or issues with the gas regulator or connections.
- Cleaning Burners: Periodically clean the burner ports with a stiff brush or compressed air to ensure optimal gas flow and flame pattern. Refer to your oven’s manual for specific cleaning instructions.
4. Troubleshooting Common Gas Flame Issues
- Yellow/Sooty Flame: Indicates incomplete combustion. This could be due to insufficient airflow, a dirty burner, or low gas pressure. Check vents and clean the burner.
- Loud Roaring Flame: Often means too much gas flow or excessive airflow. Reduce the gas knob and check vent settings.
- Flame Cutting Out: Could be a faulty thermocouple, low gas pressure, or wind interference. Ensure the thermocouple is properly seated and shielded from drafts.
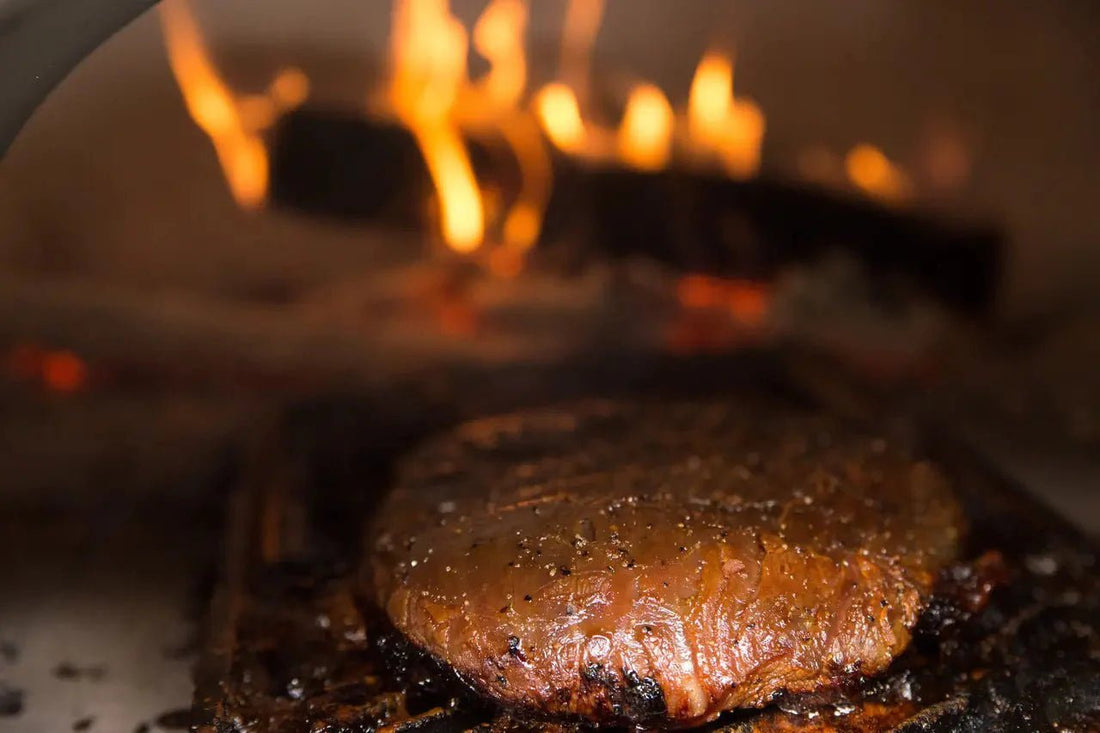
Credit: chicagobrickoven.com
Pellet Pizza Oven Flame Tuning Checklist
Pellet ovens offer a blend of convenience and authentic wood-fired flavor, using compressed wood pellets as fuel. Tuning the flame involves managing pellet feed rate and airflow.
1. Fuel And Ignition
- Pellet Quality: Use high-quality hardwood pellets specifically designed for cooking. Avoid pellets made from pine or those treated with binders, as they can affect flavor and burn quality.
- Hopper Fill: Ensure the pellet hopper is adequately filled before starting.
- Ignition: Follow the manufacturer’s instructions for ignition. Pellet ovens typically use an electric igniter or a small starter flame.
2. Establishing The Flame
- Pellet Feed Rate: The oven’s internal mechanism automatically feeds pellets into the burn pot. The initial setting will determine the size and intensity of the flame.
- Preheating: Allow the oven to preheat thoroughly, ensuring the entire oven cavity and stone reach the desired temperature. This typically takes 15-30 minutes.
3. Tuning The Flame For Cooking
- Flame Characteristics: The ideal flame in a pellet oven is a consistent, rolling flame that circulates heat throughout the dome. It should be lively but not excessively turbulent.
- Adjusting Feed Rate: If your oven allows manual adjustment of the pellet feed rate (often via a dial or digital setting):
- Flame Too Small/Weak: Increase the pellet feed rate slightly. This introduces more fuel, leading to a larger, hotter flame.
- Flame Too Large/Aggressive: Decrease the pellet feed rate. This reduces fuel input, making the flame smaller and less intense.
- Airflow Management: Pellet grills/ovens often have built-in fans to control airflow. While usually automatic, ensure the fan is operating correctly. Some models may have adjustable vent settings that can influence the flame.
- Temperature Monitoring: Use an infrared thermometer to monitor stone and air temperatures. Adjust the pellet feed rate or fan speed (if applicable) to maintain the target cooking temperature.
4. Maintaining Consistent Heat
- Pellet Hopper Level: Keep an eye on the pellet hopper. Running out of pellets will cause the flame to die and the oven temperature to drop.
- Burn Pot Cleaning: Periodically clean the burn pot to remove ash buildup, which can impede pellet flow and airflow, leading to inconsistent flames. This is often done during cool-down or before starting a new fire.
5. Example: Achieving A “wood-fired” Flame
Many users aim for a flame that mimics the characteristics of a wood-fired oven. In a pellet oven, this means:
- Finding the sweet spot on the feed rate where the flame is active enough to heat the dome effectively but not so much that it burns the pizza quickly.
- Ensuring the fan creates good circulation, causing the flame to “roll.”
- Allowing the oven to fully preheat, so the stone is hot enough to cook the base while the rolling flame cooks the top.
Common Flame Issues And Troubleshooting
Regardless of your oven type, you might encounter flame issues. Here’s a quick troubleshooting guide.
Weak Or Dying Flame
- Wood-Fired:
- Cause: Insufficient airflow, damp wood, not enough embers.
- Solution: Open air vents, add more dry kindling or small logs, build up the ember bed.
- Gas:
- Cause: Low gas pressure, dirty burner, partially closed valve.
- Solution: Check gas tank level, clean burner ports, ensure gas valve is fully open.
- Pellet:
- Cause: Low pellet feed rate, clogged burn pot, malfunctioning fan.
- Solution: Increase feed rate, clean burn pot, check fan operation.
Excessive Or Uncontrolled Flame
- Wood-Fired:
- Cause: Too much wood, wood burning too quickly, excessive airflow.
- Solution: Remove some logs, use smaller pieces, partially close air vents.
- Gas:
- Cause: Gas valve set too high, excessive airflow.
- Solution: Reduce gas flow, adjust vents if applicable.
- Pellet:
- Cause: Pellet feed rate too high, fan speed too high.
- Solution: Decrease feed rate, adjust fan speed if possible.
Uneven Or Flickering Flame
- Wood-Fired:
- Cause: Uneven fuel placement, poor wood quality, inconsistent airflow.
- Solution: Rearrange logs, ensure wood is dry and uniform in size, adjust vents for steady airflow.
- Gas:
- Cause: Dirty burner ports, uneven gas distribution, drafts.
- Solution: Clean burner, check gas connections, shield oven from wind.
- Pellet:
- Cause: Uneven pellet flow, ash buildup in burn pot, fan issues.
- Solution: Ensure smooth pellet flow, clean burn pot thoroughly, check fan.
Sooty Flame (black Smoke)
- Wood-Fired:
- Cause: Damp wood, insufficient airflow (smoldering).
- Solution: Use drier wood, increase airflow by opening vents.
- Gas:
- Cause: Incomplete combustion, often due to lack of oxygen.
- Solution: Ensure air vents are open, clean burner.
- Pellet:
- Cause: Insufficient airflow, poor quality pellets.
- Solution: Check fan and vents, use higher quality pellets.
Data-driven Insights: Flame Temperature Vs. Pizza Cook Time
The relationship between flame temperature and pizza cook time is critical. Higher temperatures, facilitated by a well-tuned flame, lead to significantly shorter cooking times, which is essential for achieving the perfect Neapolitan-style pizza crust.
| Oven Type | Target Stone Temp (°F / °C) | Target Flame Temp (°F / °C) | Typical Cook Time (Neapolitan) | Key Flame Tuning Factor |
|---|---|---|---|---|
| Wood-Fired | 750-900°F / 400-480°C | 800-1000°F+ / 425-540°C+ | 60-120 seconds | Wood quality, airflow, log size |
| High-End Gas | 700-850°F / 370-450°C | 750-950°F / 400-510°C | 90-150 seconds | Gas flow, burner pattern |
| Pellet | 650-800°F / 340-425°C | 700-900°F / 370-480°C | 2-4 minutes | Pellet feed rate, fan speed |
| Standard Home Oven | 500-550°F / 260-290°C | N/A (convection fan) | 8-15 minutes | N/A (not designed for high flame) |
*Note: Flame temperature is an estimation based on radiant heat; direct measurement is complex. These figures represent the intense heat radiating from the flame and dome.*
As the table illustrates, wood-fired and high-end gas ovens, capable of producing intense, well-managed flames, dramatically reduce cook times. This rapid cooking is what creates the characteristic crispy yet tender crust, leopard spotting, and perfectly cooked toppings without drying them out. Pellet ovens offer a middle ground, providing higher temperatures than a standard home oven but typically not reaching the extreme heat of a well-managed wood-fired setup.
Advanced Flame Tuning Techniques
Once you’ve mastered the basics, several advanced techniques can further refine your pizza-making.
Understanding Draft And Airflow Dynamics
- Chimney Effect: In wood-fired ovens, the chimney and oven opening create a draft, pulling fresh air in and expelling hot gases and smoke. Understanding this flow helps you manage airflow more effectively. Opening the door slightly can increase the draft, while closing it can temper the fire.
- Vent Placement: Experiment with the placement and opening size of your air vents (if applicable). Small adjustments can significantly impact flame intensity and combustion efficiency.
- Wind Conditions: External wind can affect your oven’s draft. On windy days, you might need to adjust your vents or fire placement to maintain a stable flame.
Managing Thermal Mass And Recharge Time
- Thermal Mass: Ovens with thicker insulation and hearths (like brick or refractory concrete) retain heat longer. This means they require a hotter, more sustained fire initially to saturate the mass.
- Recharge Time: After cooking several pizzas, the oven temperature, especially the stone, will drop. You’ll need to add more fuel (wood, pellets) or increase the gas burner to recharge the heat. Understanding how long this takes for your specific oven allows you to plan your cooking sessions. For wood-fired ovens, this often means adding a log or two to reignite the flame and reheat the dome.
Using Tools For Precision
- Infrared Thermometer: Essential for accurately measuring the surface temperature of the pizza stone and dome. Aim for consistent temperatures across the stone for even cooking.
- Oven Thermometer: While less critical for flame tuning itself, an ambient oven thermometer helps monitor overall heat levels.
- Peel and Turning Tools: Long-handled peels and turning tools allow you to safely manipulate the pizza within the intense heat and rotate it without removing it, ensuring even cooking under the flame’s influence.
Case Study: The Pizzeria Owner’s Approach
Marco Rossi, owner of “Vero Pizza” in Naples, Italy, has been perfecting his flame for over 30 years in his traditional wood-fired oven. He emphasizes

As the author of the “Ultimate Pizza Guide: Recipes, Tips & Secrets Revealed,” I’m dedicated to sharing my love for pizza and empowering others to create delicious homemade pizzas with ease. Join me on a journey to uncover the secrets to perfecting your pizza game!


