To fix pizza dough tearing, ensure your dough is rested and at room temperature. Knead gently to develop gluten, which gives dough elasticity.
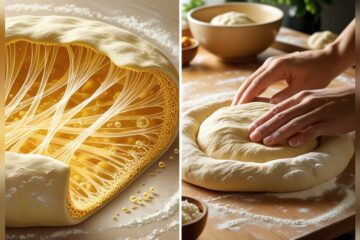
Perfecting the art of pizza dough can make or break your home-cooked pizzas. Torn dough is a common frustration, but it can be easily remedied with the right approach. It’s all about understanding the balance between gluten formation, hydration, and handling. Novice pizza chefs often face the dreaded issue of dough that won’t hold together.
Addressing the common causes of tearing, such as overworking the dough or handling it too roughly, can transform your pizza-making experience. Achieving a pliable, tear-resistant dough with an excellent crust is essential for a delightful homemade pizza. Taking the time to diagnose and correct tearing issues will elevate your dough and bring you one step closer to pizza perfection.
Common Causes Of Pizza Dough Tearing
Pizza dough can be tricky. Perfect dough stretches smoothly without breaking. If dough tears, several factors could be at play. Understanding these can turn pizza blunders into successes.
Gluten Structure And Dough Elasticity
Gluten is the backbone of dough. It gives it strength and elasticity. If the dough is not kneaded enough, gluten doesn’t develop properly. This can cause tearing. Let’s look at how to get that gluten just right:
- Knead the dough for at least 10 minutes for hand-mixed dough.
- Use flour with high-protein content. It helps in developing gluten.
- Rest the dough. It lets gluten relax and makes it less prone to tears.
The Role Of Hydration
The amount of water in the dough, or hydration, is crucial. Correct hydration means a pliable, smooth dough. Too little water results in a dry and weak dough that tears. Here’s how to keep your dough happily hydrated:
- Measure water and flour accurately. Use a kitchen scale for best results.
- Aim for a hydration level of 55-65% for most pizza doughs.
- If the dough feels tough, add water. Do this one tablespoon at a time.
Initial Steps To Prevent Tearing
Picture a perfect pizza night: the aroma, the cheese, and that impeccable crust. Now, let’s tackle a common pizza-making hurdle – the dreaded dough tearing. Before you even heat your oven or sprinkle the flour on your counter, consider the foundational steps to stop the dough from tearing in its tracks.
Choosing The Right Flour
The base ingredient of your dough can make or break your pizza experience. Selecting the best flour ensures elasticity and minimizes rips.
- Bread flour: It is high in protein and supports a stretchable dough.
- All-Purpose Flour: A good alternative, but it needs more strength than bread flour.
Balancing Water And Flour Ratios
The delicate dance between water and flour sets the stage for a pliable dough. Getting this balance right is a protective step against tearing.
| Flour Type | Water Percentage |
| Bread Flour | 58-65% |
| All-Purpose Flour | 57-63% |
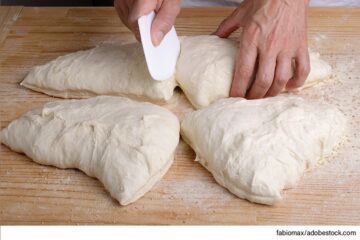
Kneading Techniques For Stronger Dough
If you’re wrestling with pizza dough that’s tearing, it’s time to focus on your kneading techniques. Kneading develops gluten, the protein that gives dough its stretch and strength. The right technique can make all the difference. Here’s how to knead your way to stronger, more flexible pizza dough.
Hand Kneading Versus Mixer
Hand kneading adds a personal touch to your dough. Start by folding the dough onto itself, then push it away with the heel of your hand. Rotate it at 45 degrees and repeat the process for about 8-10 minutes.
Another option is to use a stand mixer with a dough hook. It’s less labor-intensive and provides consistent results. Let the mixer work the dough for about 7-10 minutes at a low to medium speed.
| Method | Benefits |
| Hand Kneading | Improves texture, hands-on control |
| Stand Mixer | Consistent, less physical effort |
Optimal Kneading Time
The optimal kneading time is crucial. Under-kneading can cause the dough to tear easily, and over-kneading can make it too tight and hard to shape. Aim for 8-10 minutes of kneading by hand or 7-10 minutes with a mixer.
Remember to check the dough’s texture. The optimal kneading time yields a smooth, slightly tacky ball. If it’s sticky, sprinkle flour. If it’s dry, add a drop of water.
- Press the dough with your finger – if it springs back, it’s ready.
- Look for a smooth, uniform texture.
Credit: mypizzacorner.com
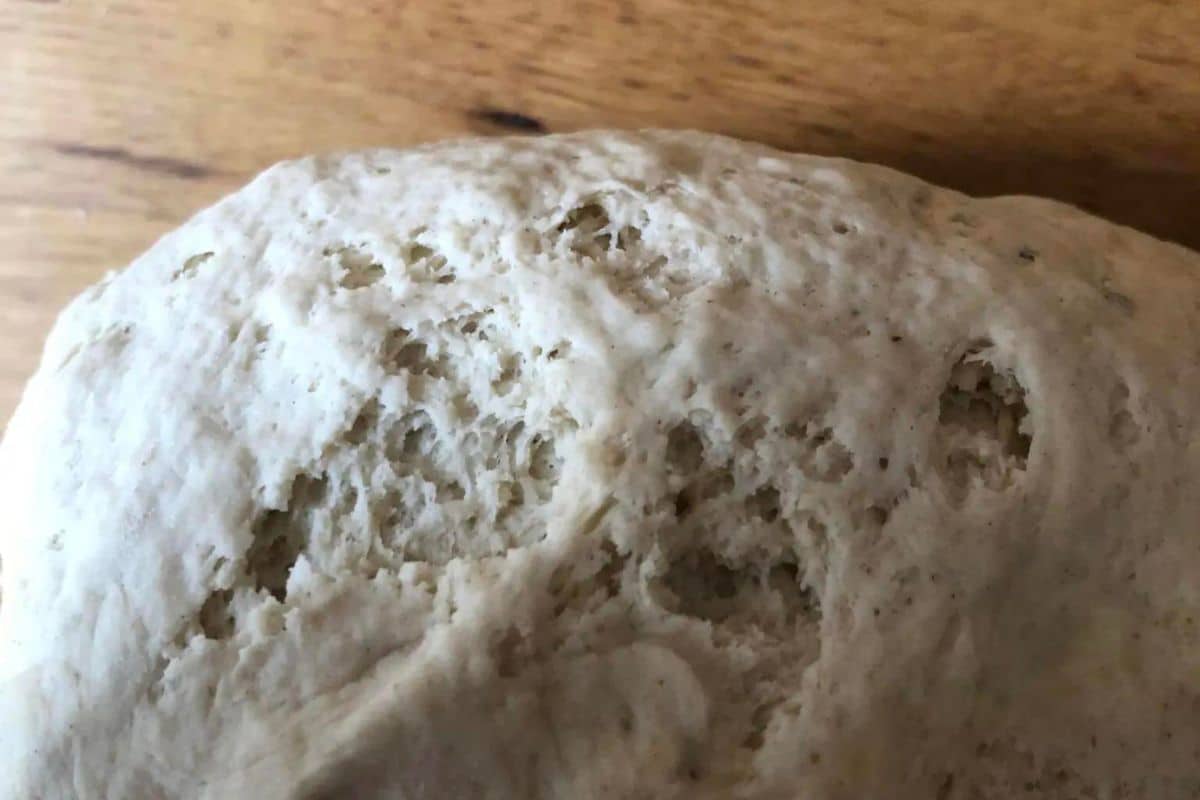
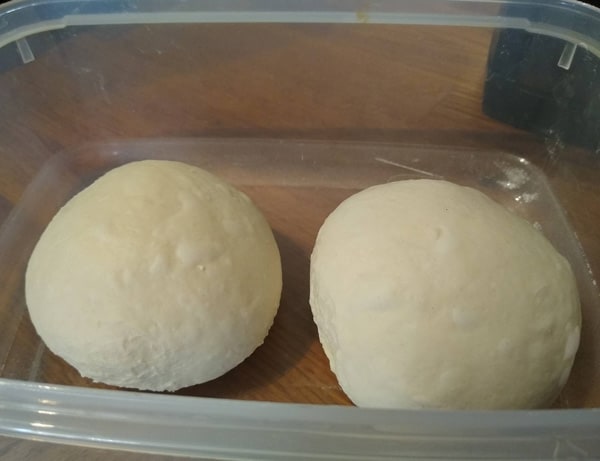
Resting And Fermentation
Perfect pizza starts with the perfect dough. But what if the dough begins to tear? Understanding the resting and fermentation phases can turn a dough disaster into delectable success. Rest and fermentation allow the gluten in the dough to develop, leading to a stronger, more elastic texture. Adequately rested dough will stretch with ease rather than tear.
Proofing is the rise time of dough after mixing and before baking. It is critical for structure and flavor. During proofing, the dough should rise in a warm, draft-free environment. Proofing allows yeast to produce gas, which creates air pockets. These pockets make dough light and airy.
- Double in size: Dough generally needs to proof until it’s roughly double its original size.
- Testing readiness: Gently press the dough with a finger. If the indentation remains, it’s proofed.
Temperature and time greatly affect the dough’s behavior. Control these to prevent tearing.
| Temperature | Effect on Dough |
| Warm (70-75°F) | Rises faster with more yeast activity. |
| Cool (60-68°F) | Rises slower but develops flavor. |
Time also shapes the dough’s outcome:
- Shorter rises can lead to underdeveloped gluten, causing tears.
- Longer rises allow for more gluten development and better elasticity.
Tips: Control the temperature with a proofing box or an oven (turned off) with a bowl of warm water. Allow more time for rise at lower temperatures for flavor depth.
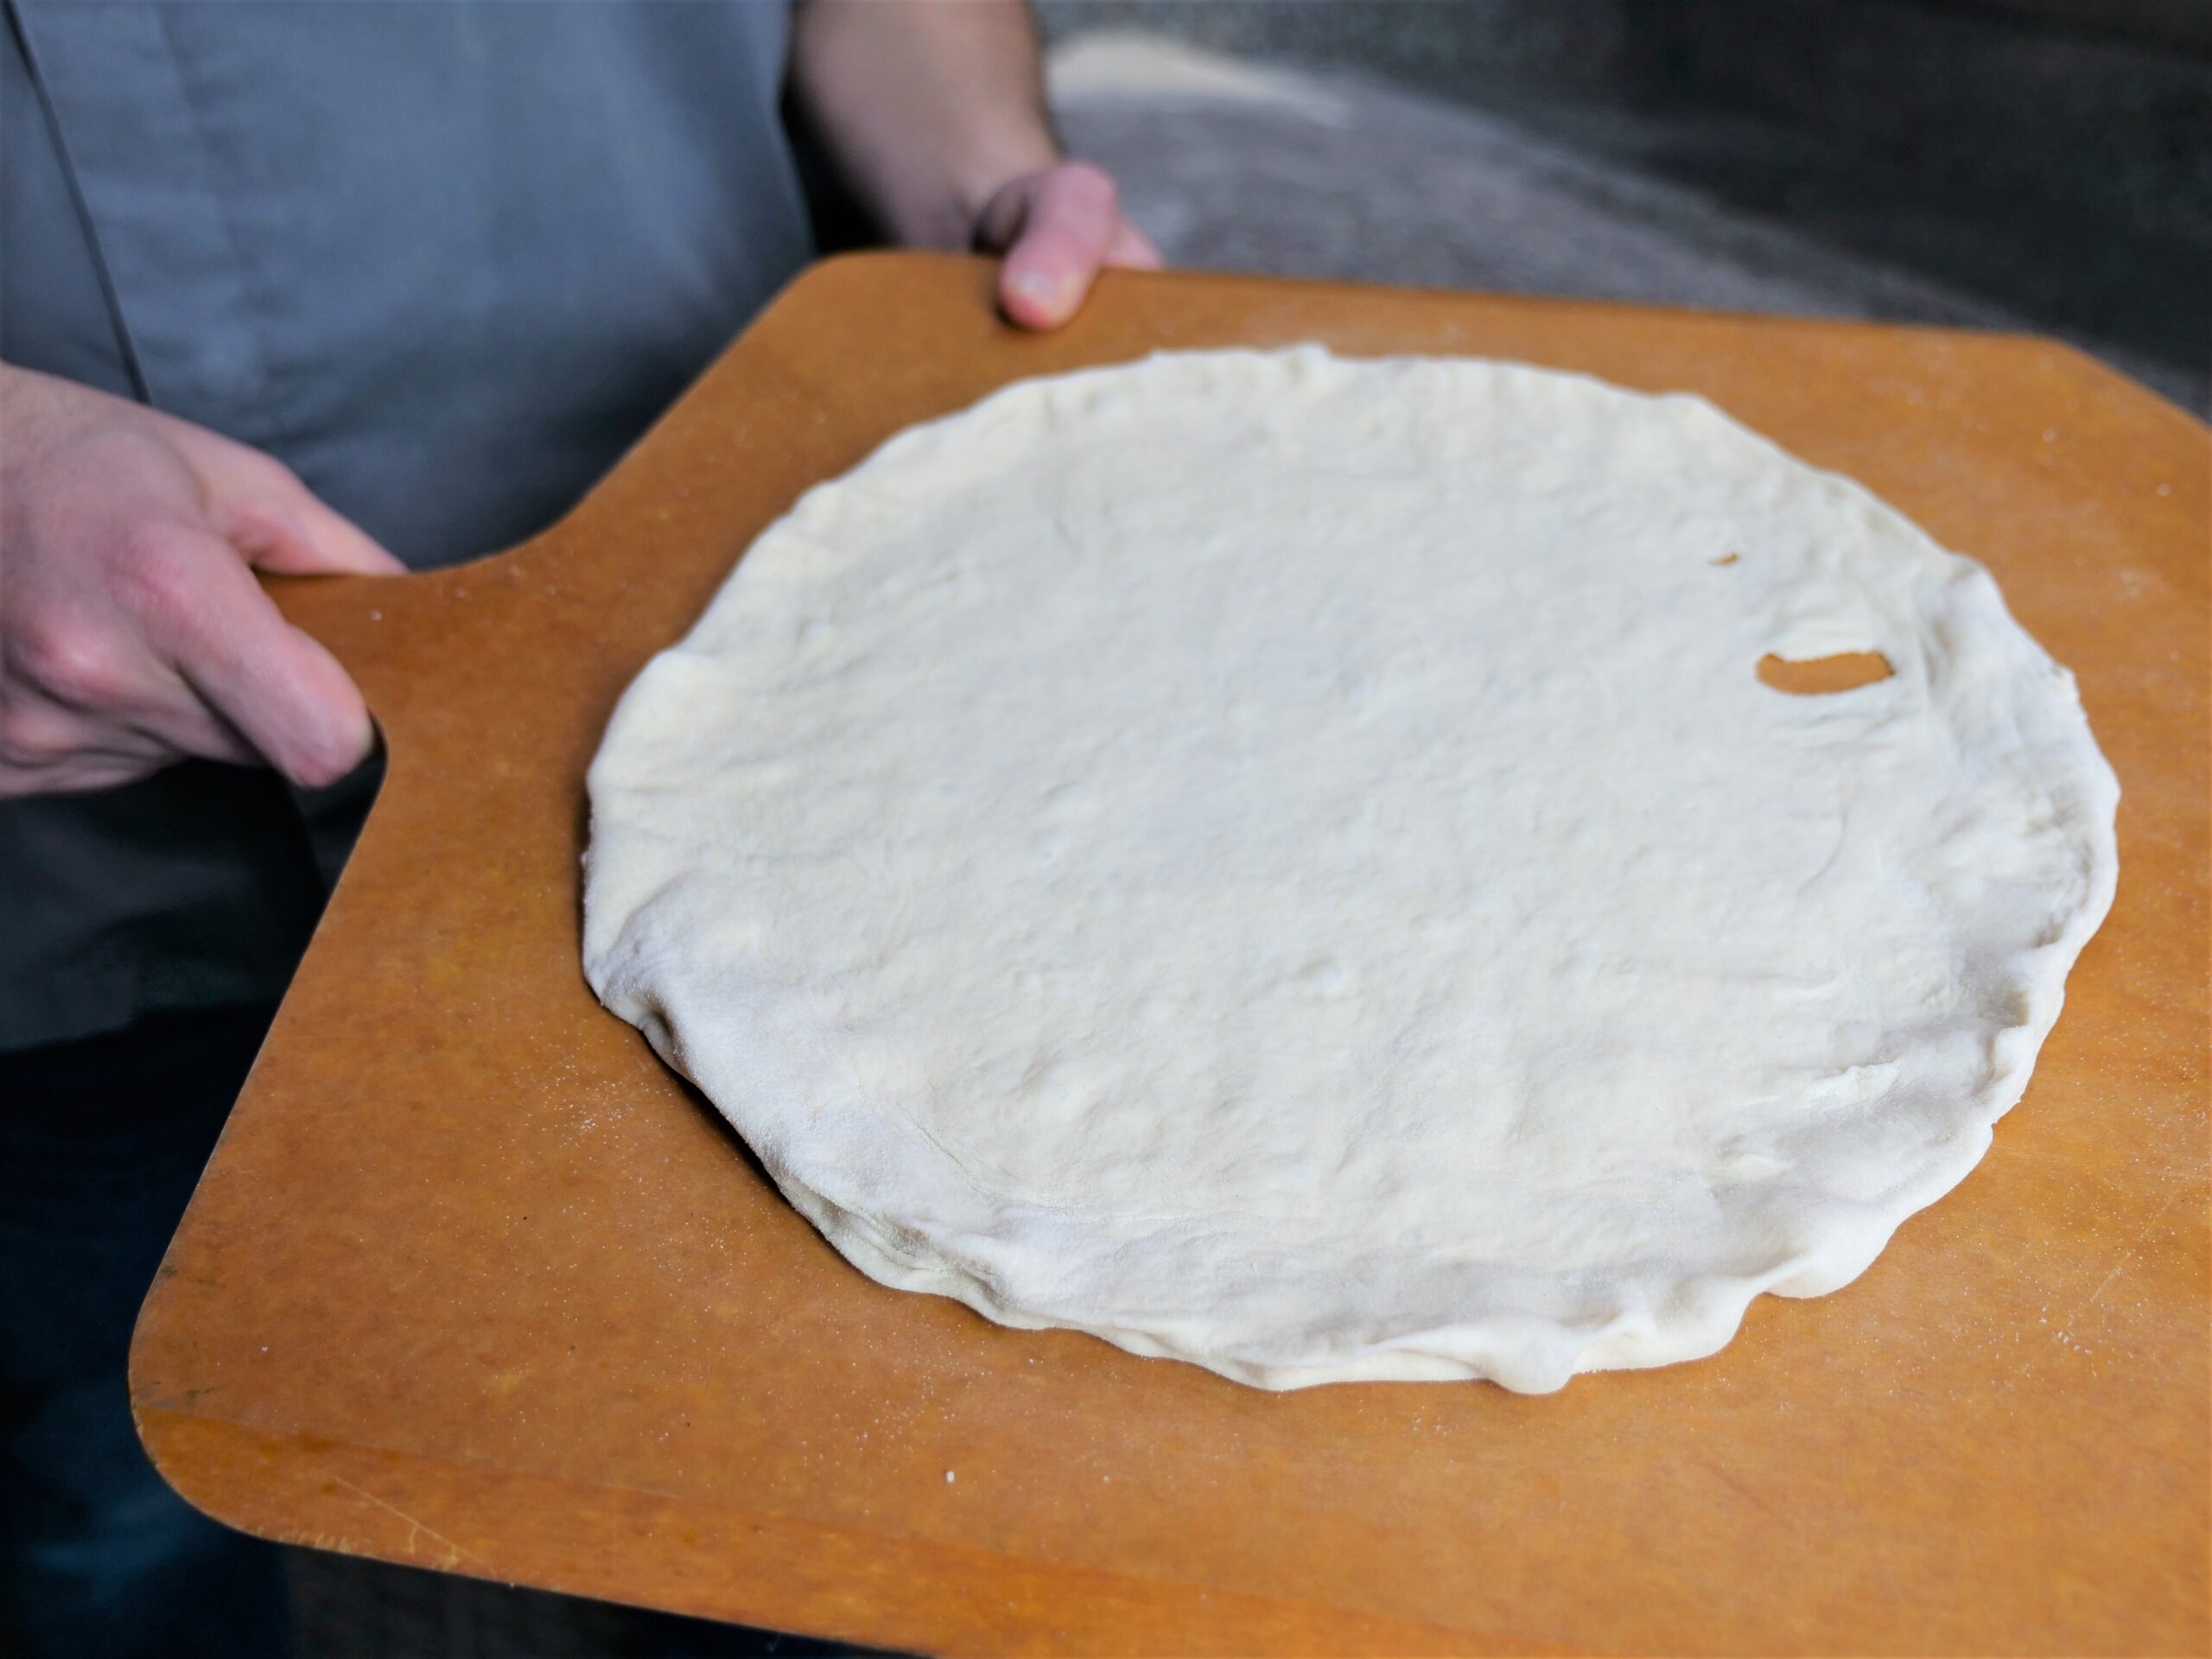
Rolling Out Dough Without Rips
Rolling out pizza dough can be tricky. A perfect pizza base starts with dough that rolls out smoothly without tears. Let’s ensure every pizza night is a success with dough that stretches as it should. Follow these steps to create a base that’s ready for toppings without any mishaps.
From Ball To Base: Step-by-step
- Start with dough at room temperature. Cold dough is more likely to tear.
- Flour your surface and roll the pin lightly to avoid sticking.
- Press the dough ball into a flat disc using your fingers.
- Begin rolling from the center outwards, turning the dough slightly after each roll.
- Roll the dough until it reaches your desired size.
Thickness And Evenness Tips
- Keep the pressure even as you roll to avoid thin spots.
- Rotate the dough to maintain a circular shape and equal thickness.
- Use your palms to stretch the edges gently, if needed.
- Check for thickness by lifting and inspecting the dough.
- Aim for about a 1/4 inch thick base for an even cook.
Troubleshooting Sticky Dough
The sticky dough can turn pizza-making into a sticky mess. Don’t worry! Easy tricks exist to fix this issue. Let’s explore how to prevent your pizza dough from becoming a gooey challenge.
Flour Dusting And Surface Prep
A well-dusted surface is crucial for pizza dough. Before rolling out your dough, scatter a generous layer of flour over your work area.
Dust with all-purpose or bread flour. This acts like little ball bearings, preventing the dough from sticking. Your rolling pin needs a layer of flour, too.
Too much or too little flour can cause the dough to stick. Start with a light sprinkle, then add more as needed. This ensures the perfect balance.
Handling Techniques
Effective handling can prevent sticky situations. Be gentle and quick with pizza dough; rough handling can cause it to tear.
- Refrain from overworking the dough. This warms the dough, causing stickiness.
- Let the dough rest if it shrinks back. This relaxes the gluten.
- Use damp hands to prevent sticking.
- Shape carefully. Avoid pulling or tearing.
With the right approach, sticky dough becomes easy to handle. There will be no more tears, only perfect pizza bases.
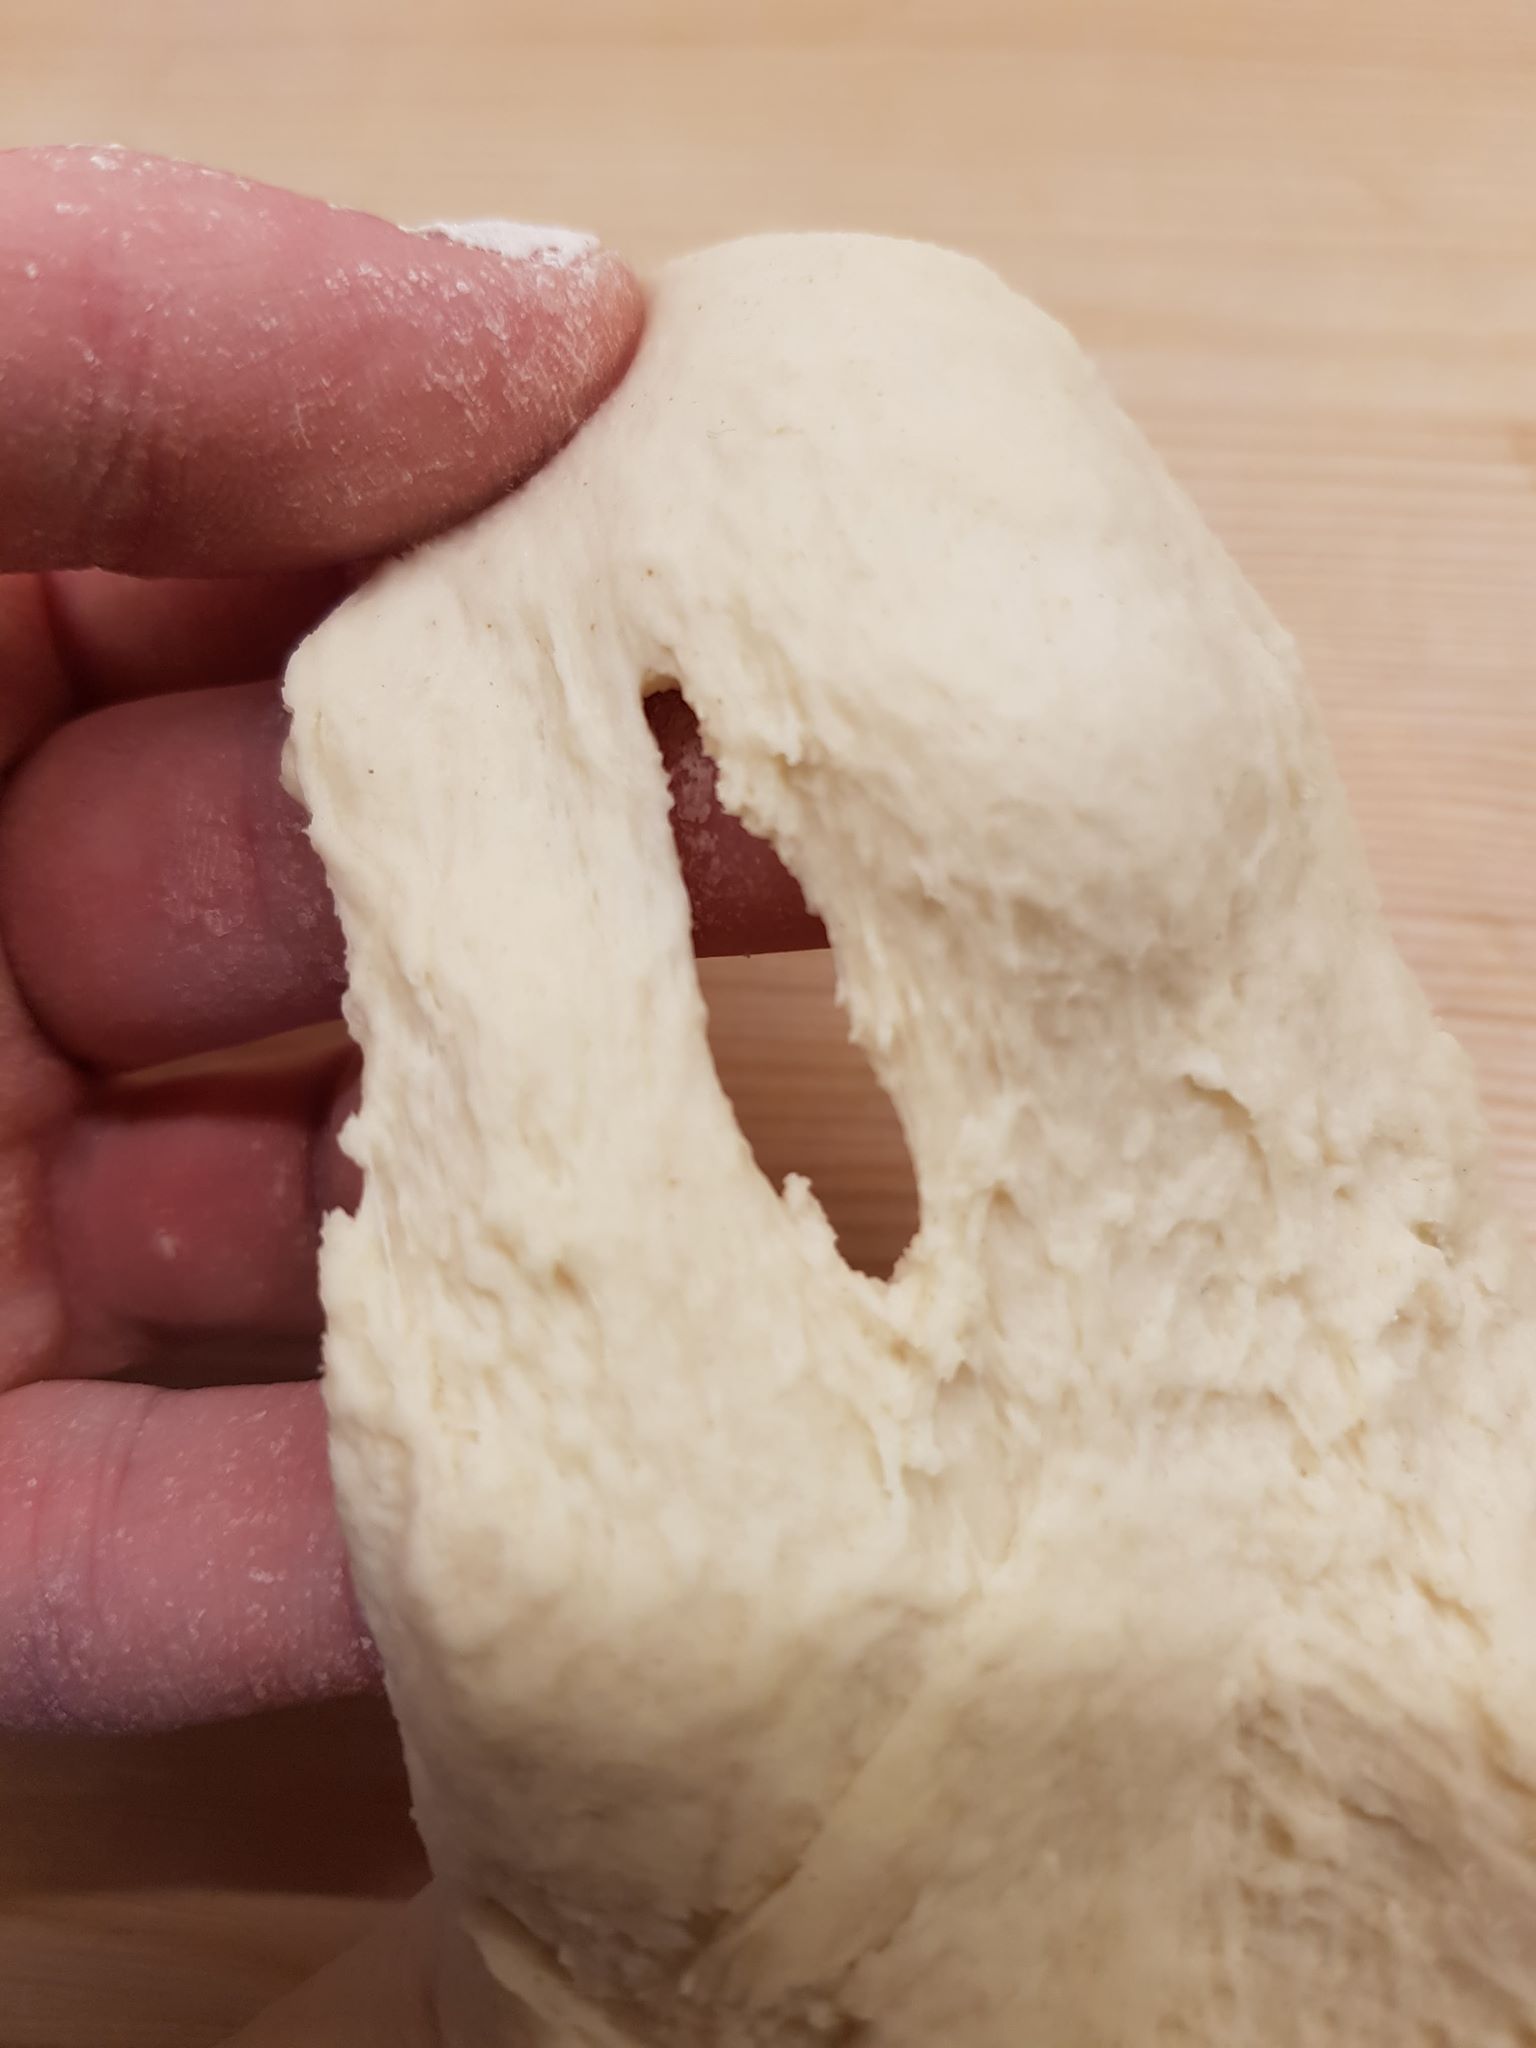
Repairing The Torn Dough
Oops! Your pizza dough has ripped. Don’t worry! Sometimes, the dough doesn’t cooperate. It may be sticky, too thin, or overworked. Let’s explore how to bring your pizza dough back from the brink of disaster.
Patch It Up: Techniques For Fixing Tears
Mending dough is like a delicate art form, but it’s quite simple. Follow these steps:
- Stay Calm: A tear is not the end of the world.
- Flour Power: Dust your hands and the torn area with flour.
- Press Gently: Use your fingers to bring the torn edges together.
- Patch Method: If needed, take a small piece of dough from the edge and use it to patch the hole.
- Rest Again: Give the dough time to relax before reshaping.
Knowing When To Start Over
Sometimes, a dough tear is a sign to begin anew. Consider these points:
- Dough Texture: If the dough feels dry, crumbly, or continues to tear, it’s time to start over.
- Multiple Tears: Numerous rips indicate overworked dough. Make a fresh batch.
- Over-elasticity: Dough that snaps back quickly needs more rest or a new start.
Remember, practice makes perfect. Dough management is a skill acquired by experience.
Credit: www.pizzauniversity.org
Perfecting Your Technique Over Time
Are you finding that your pizza dough is tearing as you work? Fixing pizza dough can seem tricky. But, with the right approach and a bit of patience, you’ll be crafting the perfect crust in no time.
Learning From Mistakes
Pizza-making is an art, and every artist has a journey. As you work with your dough, take note of what’s causing the tears. Are you rolling the dough too thin? Is your dough not rested enough, or is it too cold? Identifying these issues is the first step in perfecting your technique.
- Assess dough texture
- Track resting times
- Adjust kneading habits
Know your ingredients and their behaviors. The gluten network in your dough needs care. Little kneading can prevent your dough from lacking strength. Too much, and it will become tight and tear. Practice finding the right balance.
Consistency Through Practice
Just like learning to ride a bike, making pizza dough improves with practice. The more you make dough, the better you understand its feel and elasticity. Aim to maintain a consistent routine in your dough-making process.
| Session | Observation | Improvement |
| 1 | The dough tore while stretching | Let dough rest longer |
| 2 | Better stretch, slight tear | Gentler handling |
| 3 | No tears, perfect crust | Replicate process |
Create a dough diary. Note down each attempt with outcomes and tweaks you’ve made. This habit will speed up your learning curve. Remember, repetition is key to mastery. Embrace the small victories and learn from each session. Your efforts will soon yield a tear-free, delightful pizza crust.
Advanced Tips From Pizza Chefs
Turning great pizza dough into a perfect crust can sometimes be a challenge, especially if it starts tearing. To avoid this frustration, let’s dive into the wisdom of experienced pizza chefs and uncover some sophisticated tricks. With the right techniques, you can ensure your dough stretches beautifully and holds together every time.
Secrets Of The Trade
Expert pizza makers understand that the devil is in the details when preparing dough.
- Protein Content: High-protein flour creates strong gluten networks.
- Avoid Overworking: Handling dough too much makes it tight and prone to tearing.
- Perfect Hydration: The right amount of water ensures that the dough is pliable.
- Rest: Allowing the dough to rest helps gluten relax for easy shaping.
- Room Temperature Matters: Dough is more elastic and less prone to tearing when warm.
Keep these proven practices in mind as you prep your dough for an outstanding pizza base.
Adjusting Methods For Different Pizza Styles
| Pizza Style | Flour Type | Hydration | Kneading Time | Rest Time |
| Neapolitan | 00 Flour | 55-62% | Minimal | 8-24 hrs |
| New York | High-gluten | 58-65% | Moderate | 1-2 hrs |
| Chicago Deep-Dish | All-purpose | 45-50% | Brief | 1-2 hrs |
Different pizza styles require unique approaches. Selecting the correct flour, adjusting water content, and controlling kneading and rest times are crucial steps. Whether you’re crafting a traditional Neapolitan or a hearty Chicago deep dish, these adjustments will help prevent dough tears and lead to delicious results.
Credit: thepizzaheaven.com
Frequently Asked Questions
Why Does My Pizza Dough Keep Ripping?
Your pizza dough might tear due to insufficient gluten development, excessive flour, or lack of rest time. Work your dough until it’s smooth and elastic, and allow it to rest to relax the gluten before stretching.
How Do You Spread Pizza Dough Without Tearing It?
To spread pizza dough without tearing it, start with room-temperature dough. Dust your surface with flour to prevent sticking. Gently stretch the dough from the center outwards, using your fingertips. Rotate the dough to ensure even thickness. Avoid pulling too hard or over-stretching.
Can You Fix Overworked Pizza Dough?
It’s challenging to fix overworked pizza dough. Letting it rest can help gluten relax. Try resting it for 30 minutes before reshaping. Avoid further over-kneading.
What To Do With Failed Pizza Dough?
Repurpose failed pizza dough as flatbreads, crackers, or dough balls. Bake or fry the dough for a snack or garnish. If it is inedible, compost it.
Conclusion
Perfecting your pizza dough is within reach with these simple fixes for common tearing issues. Remember, the key lies in patience—allowing your dough to rest and develop elasticity. Practice makes perfect, so keep kneading and rolling with these tips in mind.
Enjoy crafting your next tear-free pizza masterpiece!

As the author of the “Ultimate Pizza Guide: Recipes, Tips & Secrets Revealed,” I’m dedicated to sharing my love for pizza and empowering others to create delicious homemade pizzas with ease. Join me on a journey to uncover the secrets to perfecting your pizza game!